
WINDOWS 10 – Pré-configuration d’un poste client
08 Jan 2021, Posté par dans Hebergement, Serveurs| Dans un article précédent, nous avons vu comment réinitialiser un poste client à sa valeur d’origine (sortie d’usine).
Nous allons maintenant préconfigurer le poste client avant d’effectuer la préparation. |
[ezcol_1half]
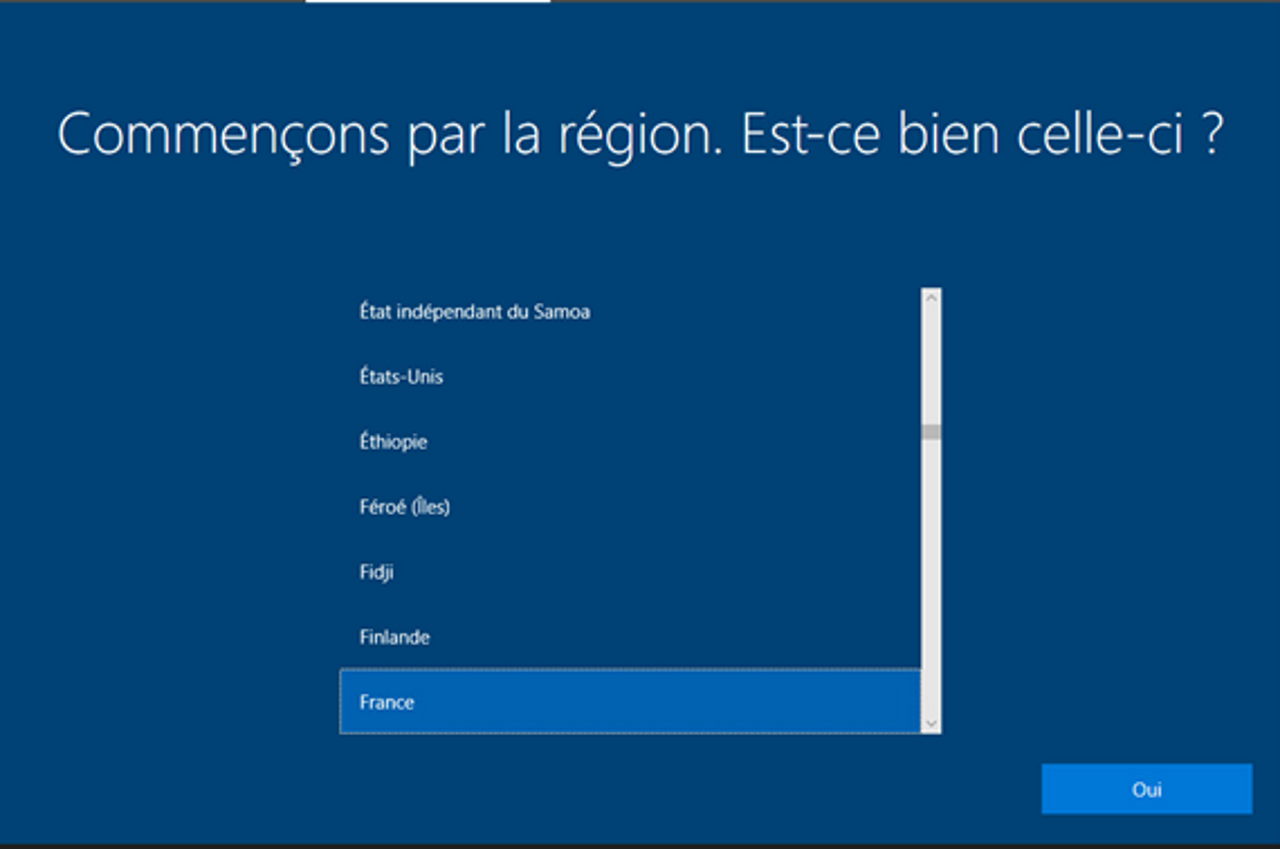
La pré-configuration commence par le choix de la région. Sélectionner France puis cliquer sur Oui.
[/ezcol_1half_end][ezcol_1half]
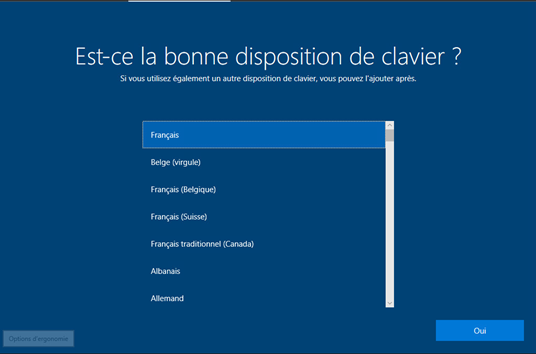
Nous pouvons sélectionner le clavier. Sélectionner Français puis cliquer sur Oui.
[/ezcol_1half_end][ezcol_1half]
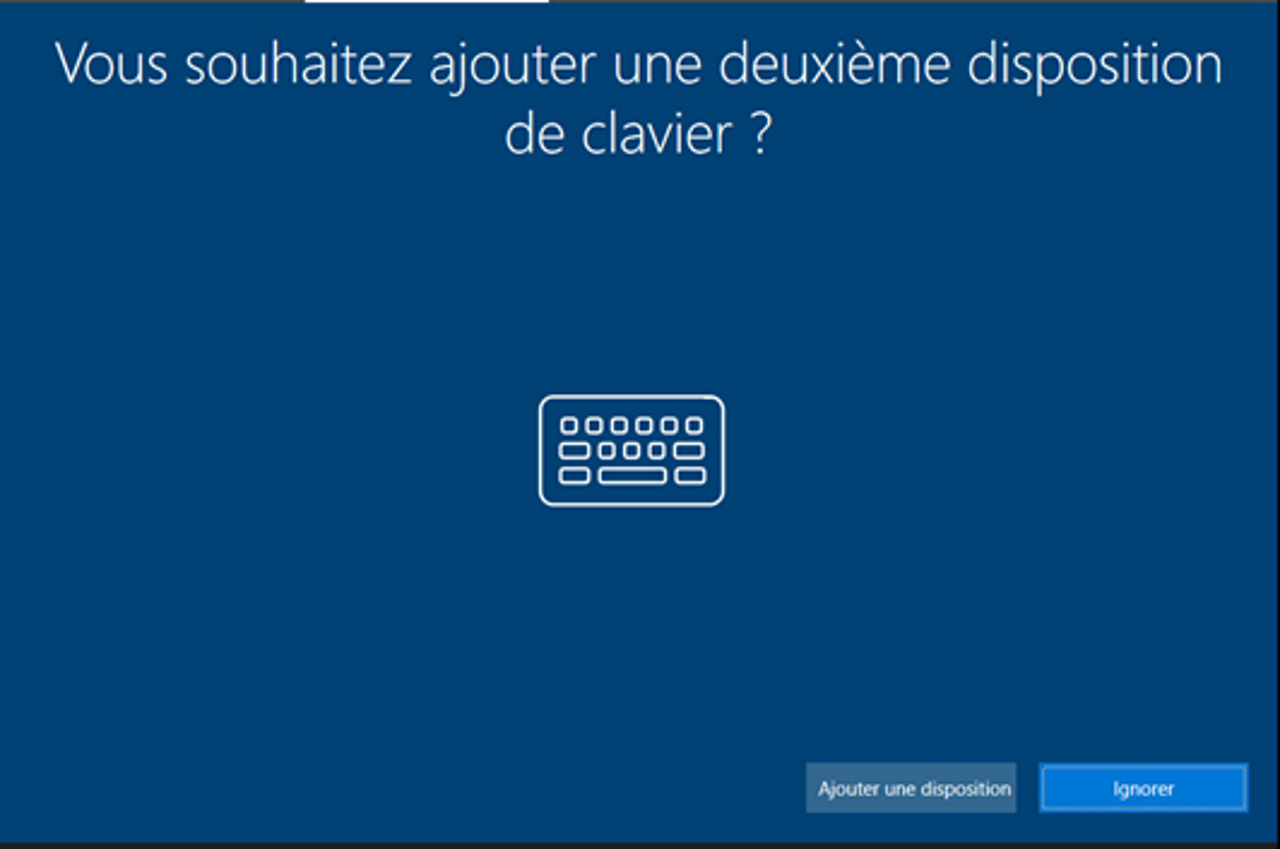
Nous ne souhaitons pas ajouter une deuxième disposition de clavier. Cliquer sur Ignorer.
[/ezcol_1half_end][ezcol_1half]
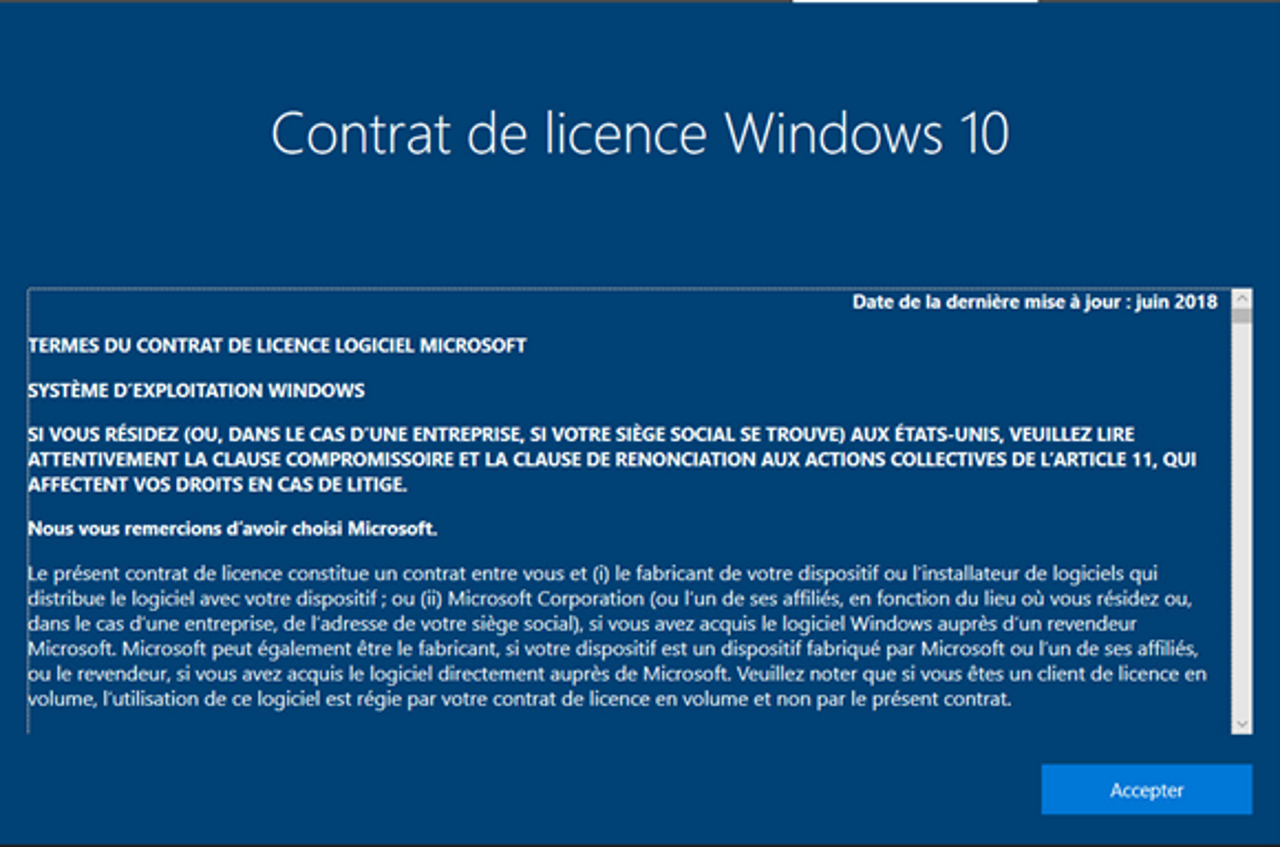
L’étape suivante est l’acceptation du contrat de licence. Cliquer sur Accepter pour valider le contrat de licence.
[/ezcol_1half_end][ezcol_1half]
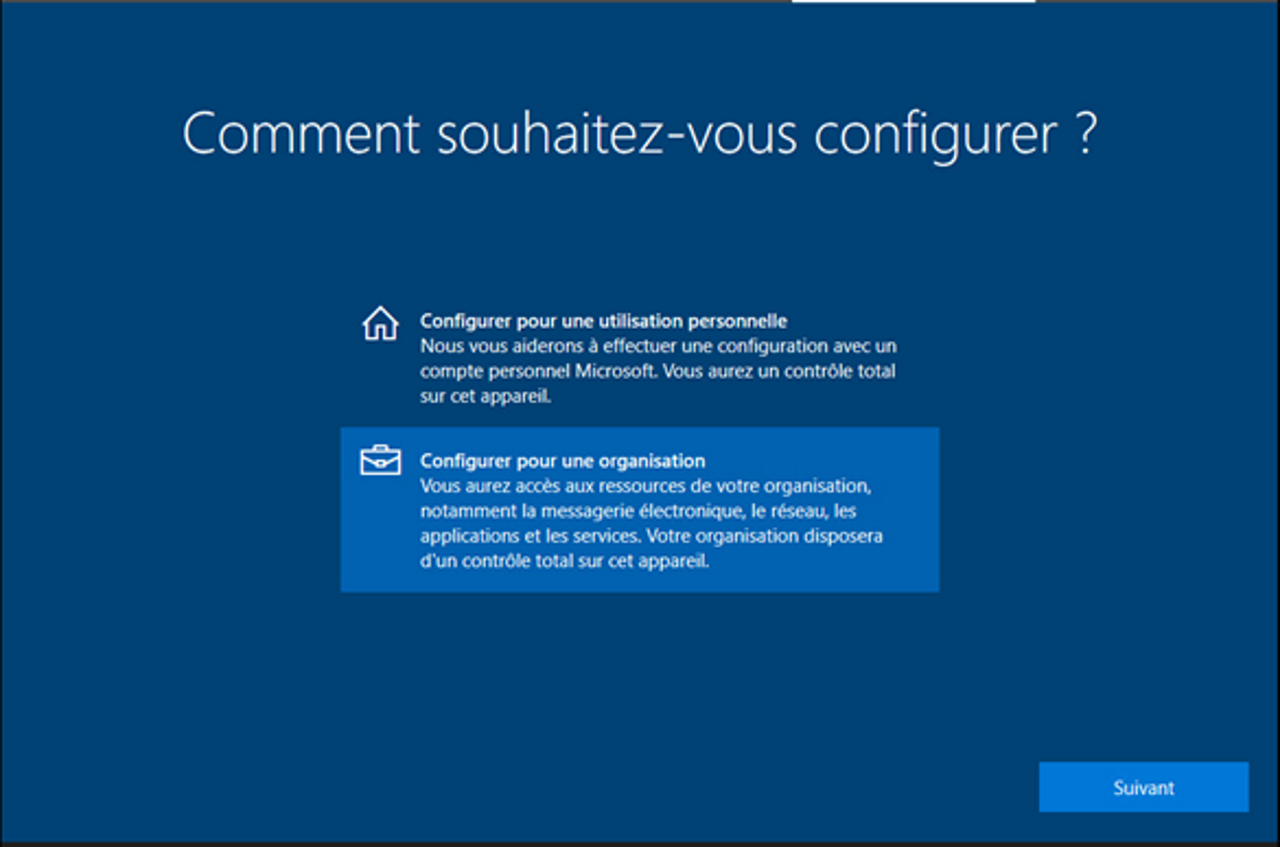
Nous allons configurer ce poste pour une organisation. Sélectionner Configurer pour une organisation puis cliquer sur Suivant.
[/ezcol_1half_end][ezcol_1half]
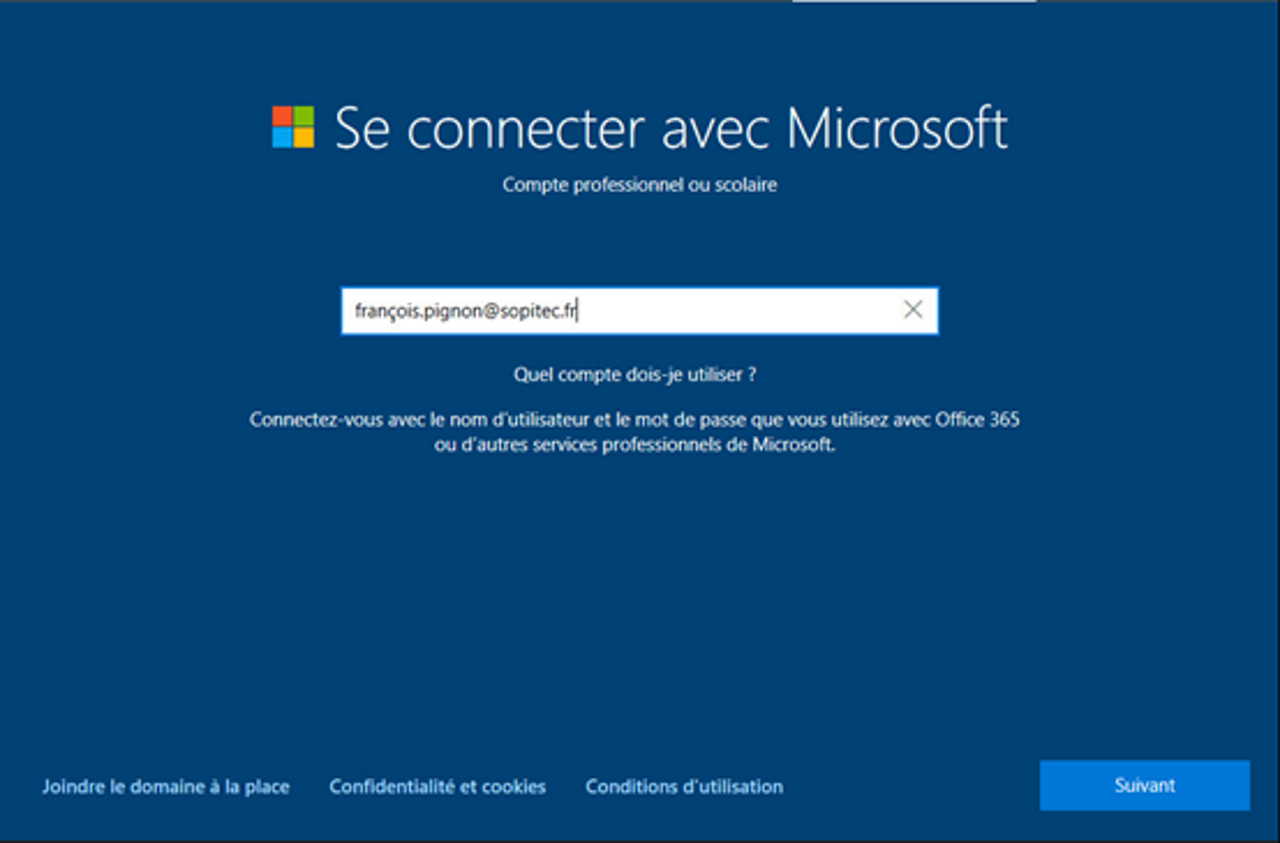
Renseignez l’adresse mail du compte Office 365 de l’utilisateur. Cliquer sur Suivant.
[/ezcol_1half_end][ezcol_1half]

Renseignez le mot de passe du compte puis cliquer sur Suivant.
[/ezcol_1half_end][ezcol_1half]

Sélectionner Ne pas utiliser la reconnaissance vocale en ligne puis Accepter.
[/ezcol_1half_end][ezcol_1half]
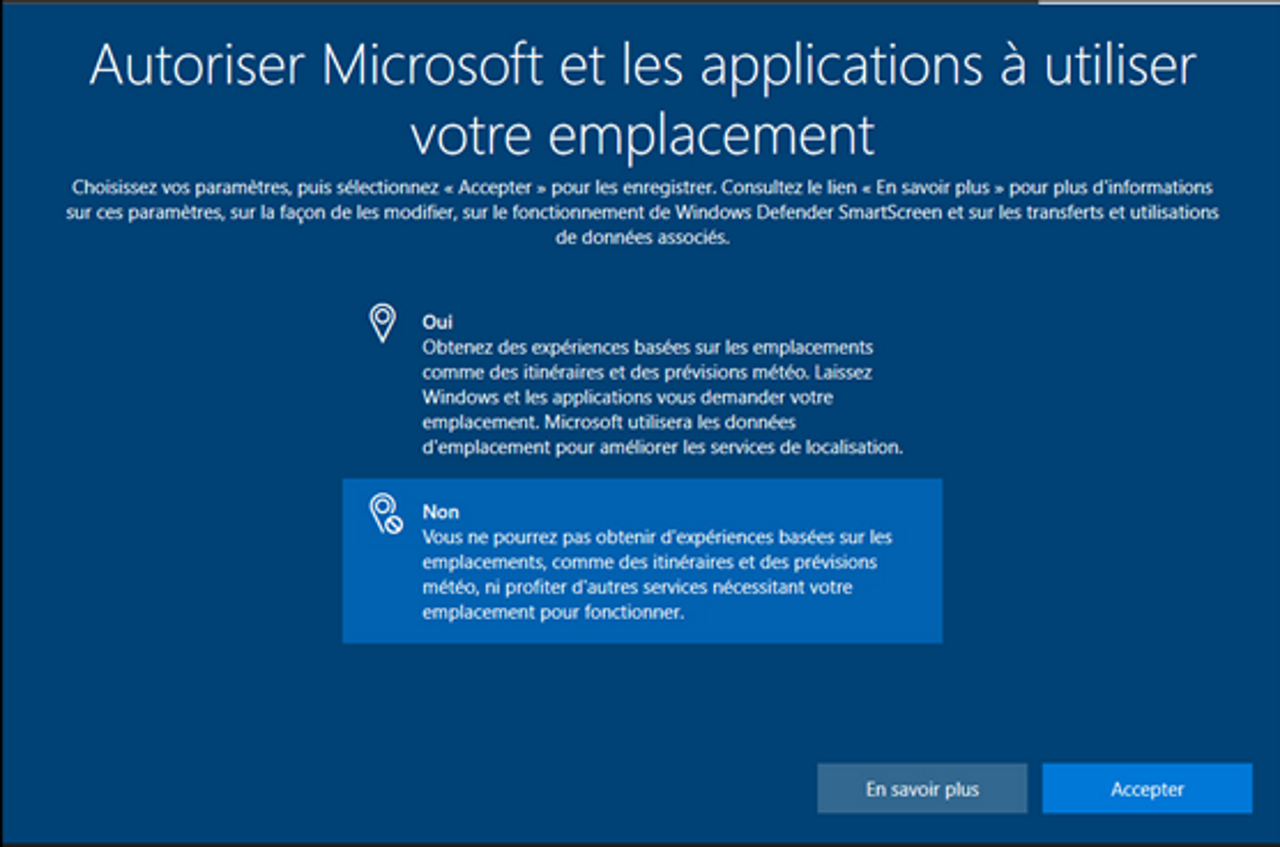
Sélectionner Non puis Accepter.
[/ezcol_1half_end][ezcol_1half]
Sélectionner Non puis Accepter.
[/ezcol_1half_end][ezcol_1half]

Sélectionner Envoyer les données de diagnostic obligatoires puis Accepter.
[/ezcol_1half_end][ezcol_1half]
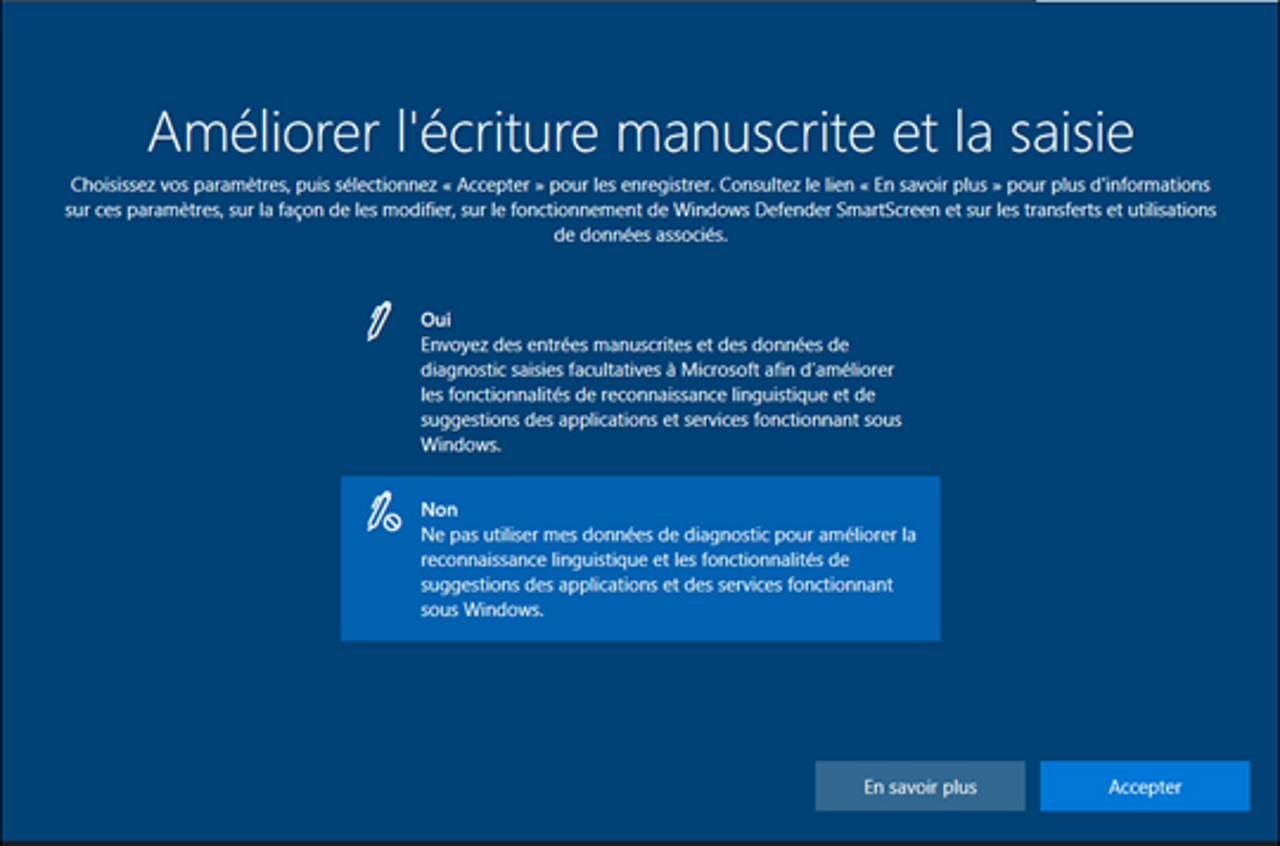
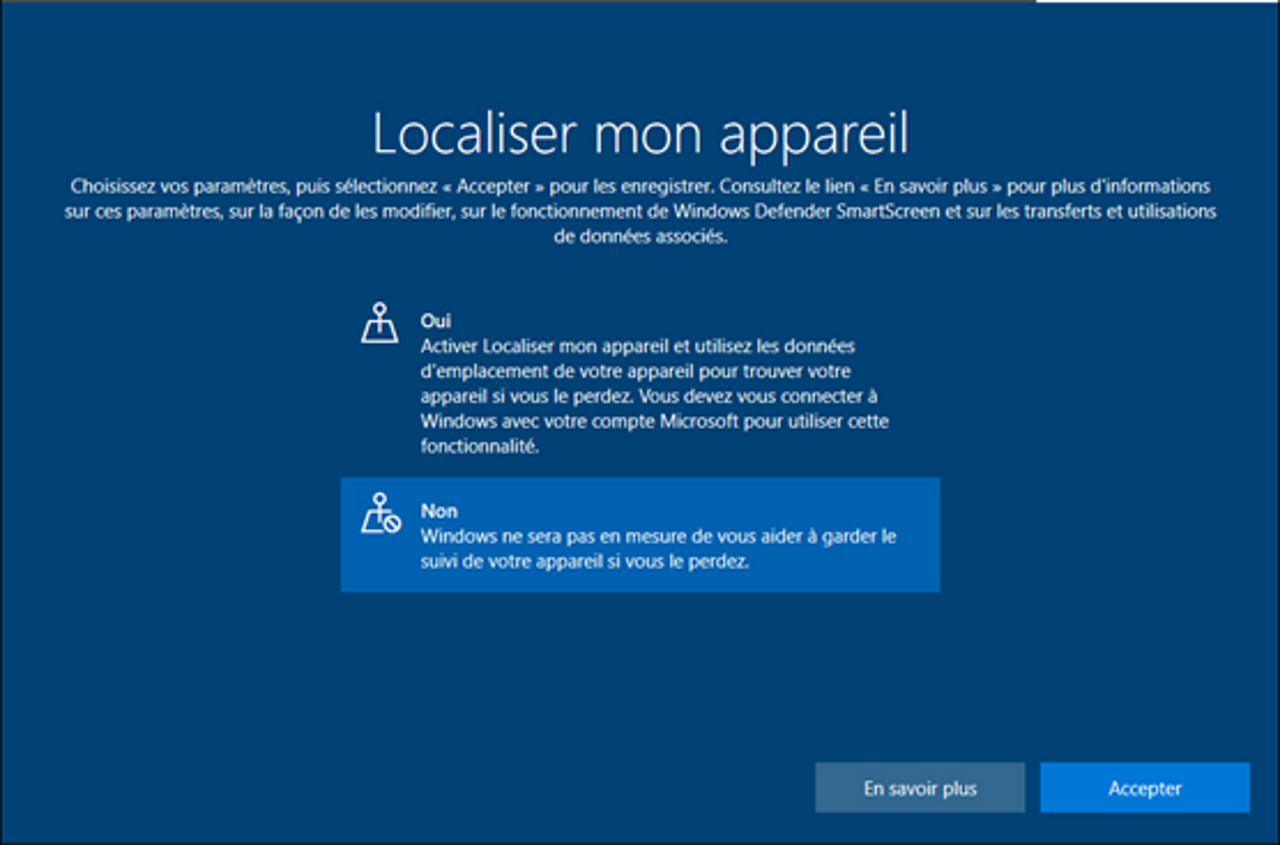
Sélectionner Non puis Accepter.
[/ezcol_1half_end][ezcol_1half]

Sélectionner Non puis Accepter.
[/ezcol_1half_end][ezcol_1half]
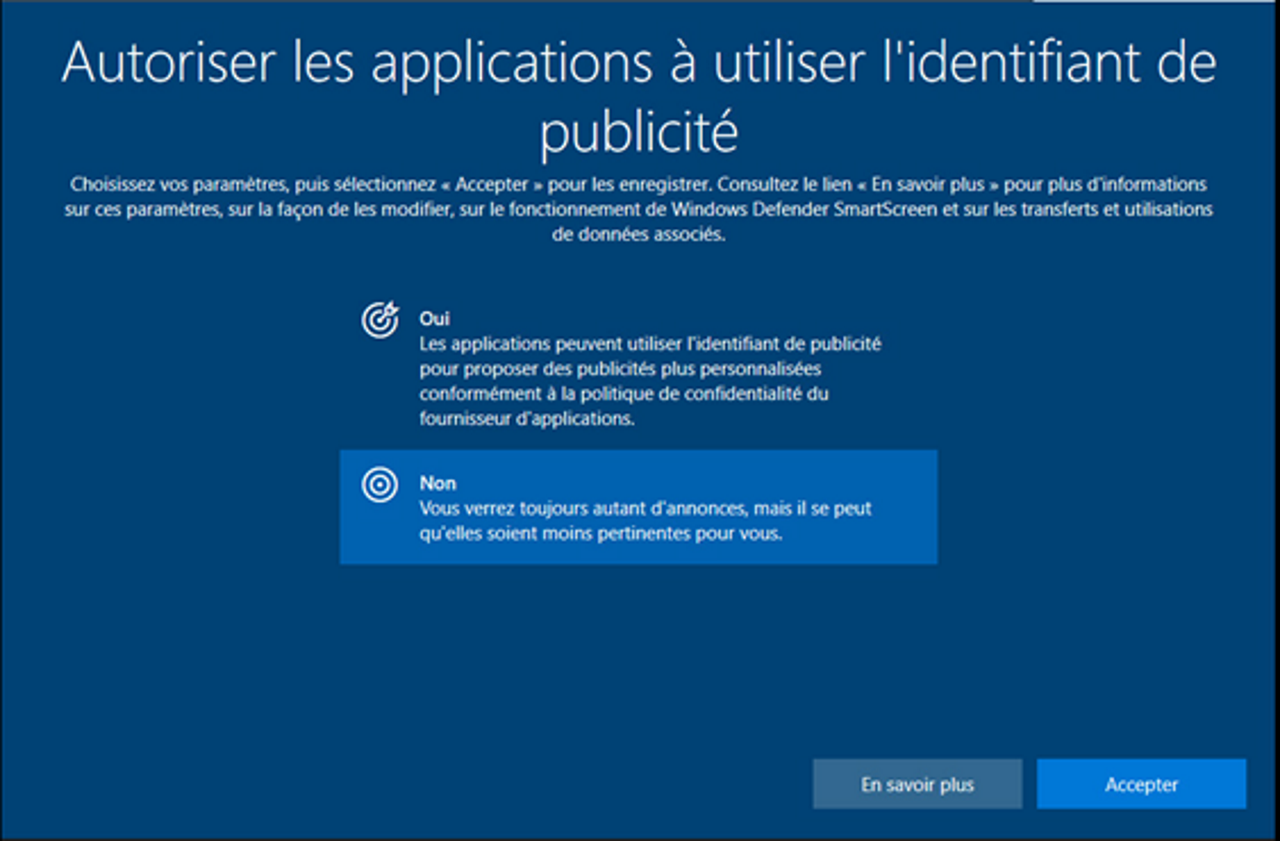
Sélectionner Non puis Accepter.
[/ezcol_1half_end][ezcol_1half]

Windows Hello permet de sécuriser l’ordinateur. Cliquer sur OK pour le paramétrer.
[/ezcol_1half_end][ezcol_1half]
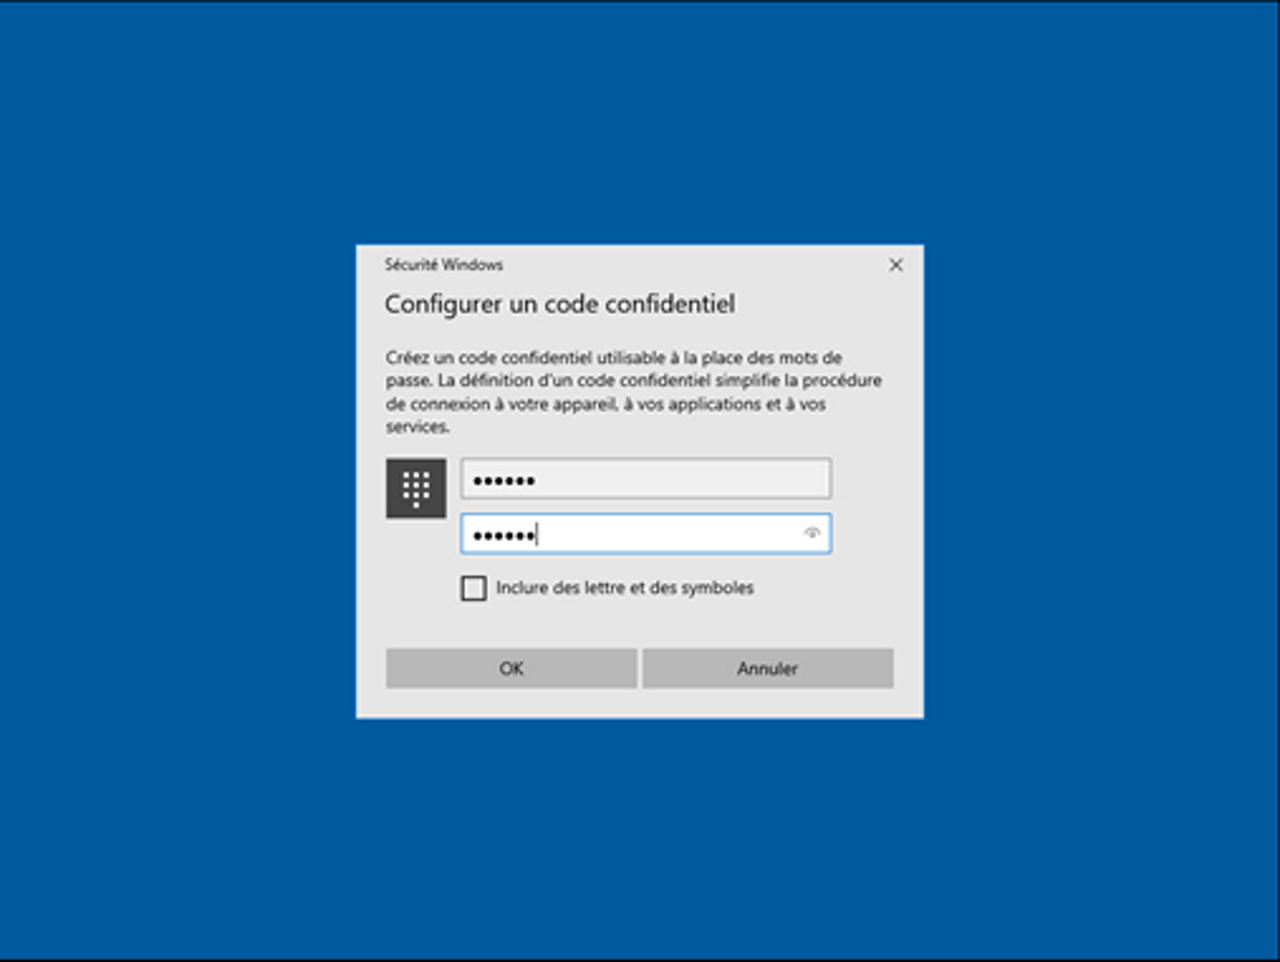
Saisir un mot de passe et cliquer sur OK.
[/ezcol_1half_end][ezcol_1half]
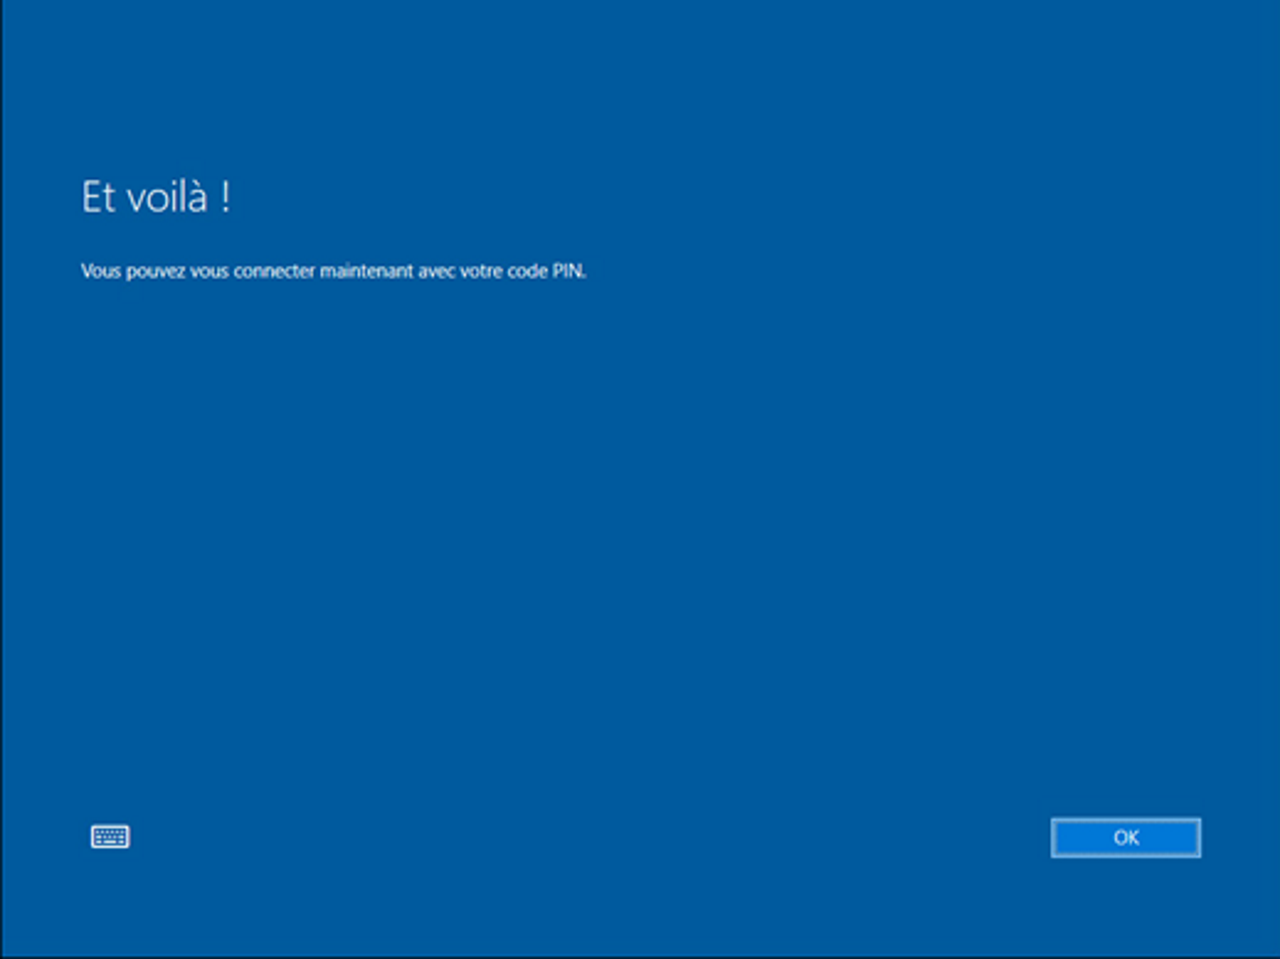
La pré-configuration est terminée. Cliquer sur OK.
[/ezcol_1half_end][ezcol_1half]

La pré-configuration est terminée. Cliquer sur OK.
[/ezcol_1half_end][ezcol_1half]
La configuration commence par l’installation de TeamViewer. Pour cela, nous allons aller sur le site internet de Sopitec à cette adresse https://sopitec.fr/assistance/ et télécharger le premier exécutable.
[/ezcol_1half_end][ezcol_1half]
Exécuter le fichier et suivre les étapes pour une utilisation professionnelle.
[/ezcol_1half_end][ezcol_1half]

Le logo de l’application apparait sur le bureau et celle-ci s’ouvre. Il ne reste plus qu’à communiquer l’ID et le mot de passe à Sopitec pour la suite de la configuration du poste.
[/ezcol_1half_end]